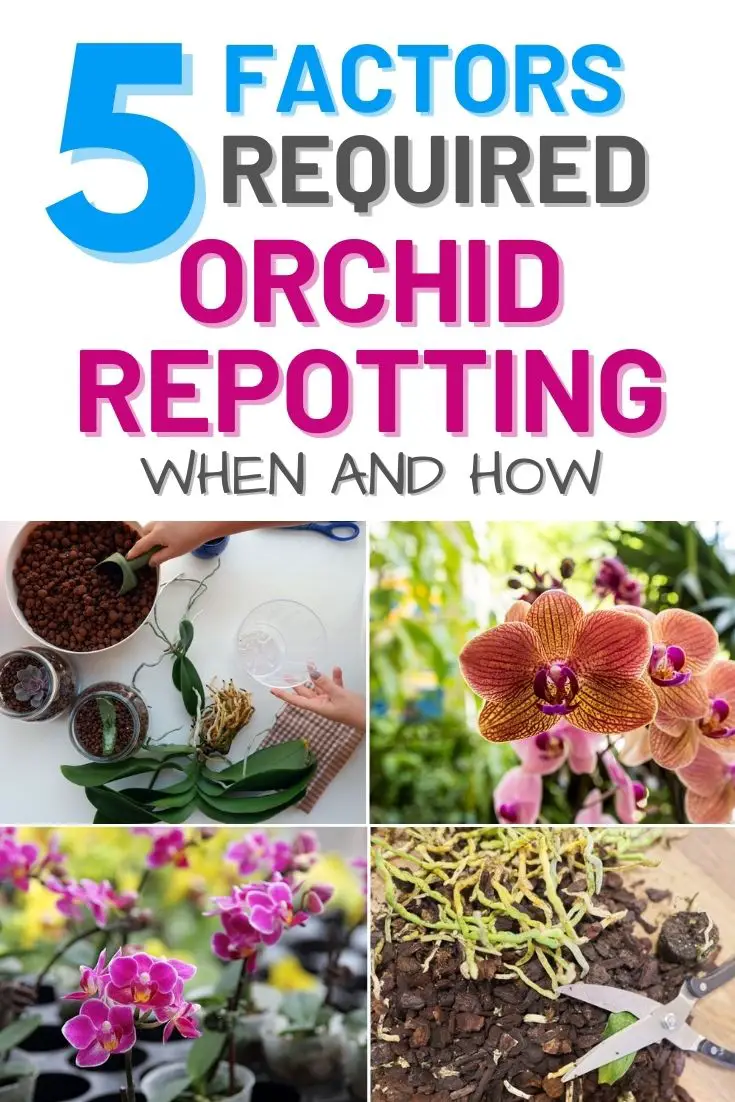
When growing orchids, there is always repotting as an essential aspect of the endeavor. Then again, you have to do orchid repotting the right way so that you don´t damage your orchids. Orchid repotting is not so difficult, though, but with the proper guidelines.
The repotting of your orchids depends on the kind of species. If you have Dendrobium, Miltonia, Phalaenopsis, and Paphiopedilum, you should repot them every year.
On the other hand, Cattleya, Oncidium, Dendrobium, and Odontoglossum are repotted every other year, while Cymbidium, Vanda, and its allies are repotted every three years.
What are the benefits of repotting orchids?
Orchids are repotted to provide fresh media, promote good aeration, and a larger pot with more room for the growing orchids.
The best time for repotting of orchids is during the late part of the spring and early part of summer. However, see to it that the orchids are repotting after their flowering. If you use compost for repotting, soak it in water overnight. Note that a new pot has to be used for repotting.
If you use an old pot, make sure the size is enough to accommodate the growing orchids. Wash the old pot thoroughly and rinse with boiling water. Doing so kills any pathogens present in the pot.
Why You Should Repot Orchids
If you have done thorough research, you would know that it is not difficult to cultivate orchids no matter their species. True, orchids may have a different way of growing as they do not need soil even if you plant them on pots.
Nonetheless, they are like most other plants; they also require similar basic needs for survival. Orchids need water, sunlight, fertilizer, air circulation, humidity, pots, and potting media like bark trees or sphagnum moss.
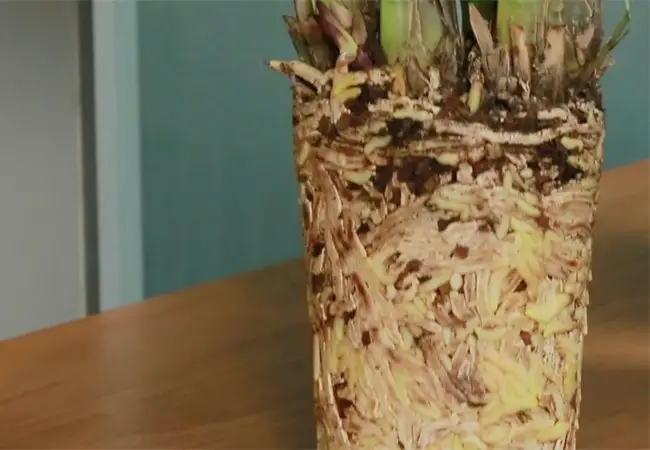
Most orchids are epiphytes. This means that they need something for their aerial root system to cling onto. These can be trees, rocks, or poles. Like all plants, the orchid’s roots also grow. And when they do, they need more space because the pots from where they are cultivated become too small for them.
You would see the roots spread out of the pots over time. It is against the rules to cut off the roots that grow out of the pots, affecting the orchids. Some orchid growers let the roots grow longer and wander outside the pots.
However, if this bothers you at all, then you have the option of orchid repotting. If you do so, you have to understand that it will disturb the orchid plant. It will need time to recover.
Steps In Repotting of Orchids
Repotting orchids is easy. Follow these steps: First, consider is the compost. See to it that you are using the right compost for your orchids. If the orchids need regular watering, choose compost that drains water easily.
However, if the orchids aren´t watered regularly, use compost that retains more water to sustain the plants. Some compost mixture includes orchid grade bark chippings; lump peat and foam; sphagnum moss, bark and foam mix; and rock wool. Select the orchid that needs to be repotted.
If your orchid has old growths and papery sheaths, it needs to be cleaned up and repotted immediately. Remove the old papery sheaths to check if there are any pest infestations, and remove some old roots as well.
Repotting of Orchids In The Right Container
Use a pot of the right size for the repotting of orchids. The pot should not be too big because the entire orchid’s energy will concentrate on root growth instead of growing new foliage. Likewise, the orchid container should support the plant’s growth for at least one year.
You can also put Styrofoam chips at the bottom of the pot to promote good air space. Finally, in repotting, put some compost on top of the foam. If you plan to place the garden inside your home, ensure ample room in front of the newly repotted orchid.
5 Factors Required For Orchid Repotting
Besides the root system, five factors may require orchid repotting. They are below:
- an infestation of pests has struck the orchids.
- The potting medium has weakened and becomes useless for the orchids to keep on growing on it.
- The orchid roots show signs of decay or rot.
- The potting medium becomes a breeding ground for salt build-up.
- You want to propagate your orchids.
If any of the conditions mentioned above is true of your orchids, it is important to initiate orchid repotting the soonest as possible. If not, it is best to wait for the right time to repot them, like having a new sprout.
If you plan to repot the orchids while they are blooming, this will affect the duration of the bloom because the orchid will use most of its energy in recovering from repotting. It will take more than a little while to get the orchid back to its normal condition.
Should the need arise for orchid repotting, the following should be of help:
- Choose the right size of pots for your orchids; the pots should accommodate 2 years of growing orchids.
- It would be best if you used sulfur to sterilize the roots after cutting.
- Shears for cutting the roots such as the rotten.

- It would help sterilize your shears with bleach before you cut the roots to prevent potential disease spread to another plant.
- Gloves.
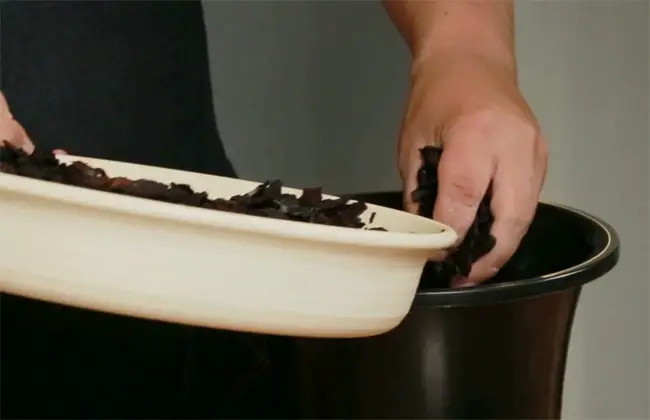
To begin with, orchid repotting, soak your potting medium in water until it is saturated. Soak the orchid in a bowl of water to make it flexible and easy to detach from the old medium pot.
Though it may take a while for your orchids to recover, following the above instructions will ensure that your orchids will not remain in a trauma.
Repotting Orchids:
Repotting orchids is definitely an issue that often arises for orchid owners. This article will cover basic instructions on repotting orchids, when to repot and how to repot your orchid.
When to Repot?
The most important thing to understand is when to repot your orchid. You don’t want to do it too soon because it could harm plant growth, and honestly, it’s just pretty hard on the orchid. Having said that, it is necessary, and we need to make sure that we are doing it at the correct time.
The only times you will repot are when the media has decomposed and is not draining as well or when the orchid has just absolutely outgrown its pot and long roots are crawling out of the side of the container.
When repotting orchids make sure you pick a pot is important as well. You can use plastic clay or decorative. Make sure, though, that any pot you use is slotted and can sufficiently drain.
Many people use two pots with the slotted one on the inside to hide expanding roots. Also, if you want your roots to get more light, you can use a clear pot, which can be helpful, especially with Phalaenopsis orchids.
Now, you want to make sure that you NEVER repot when the orchid is flowering. Always repot after flowering is over.
How to Repot?
The first thing you will want to do when repotting orchids is to prepare your medium for repotting the night before by drenching about double the amount you intend to use in water overnight.
This ensures that the medium is soft and won’t damage the roots when placed into the new pot. The next morning strains the medium of drying it out a little, so it’s not too wet when repotting.
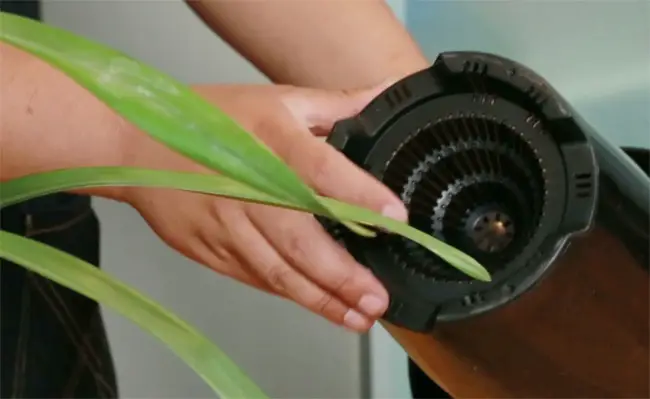
You’ll then want to trim the spike about two nodes above the base of the plant. You’ll want to make sure that you use sterilized cutting equipment, so you don’t spread the disease to your orchid.
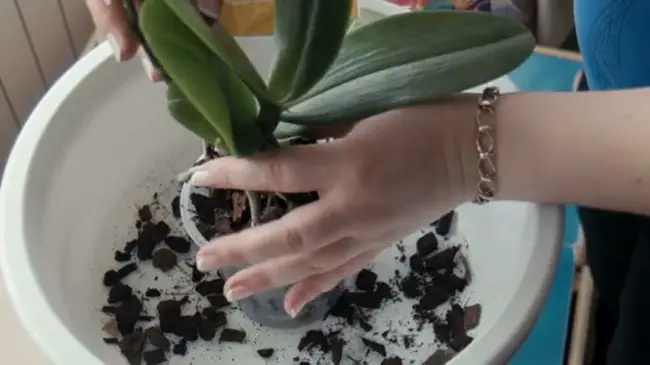
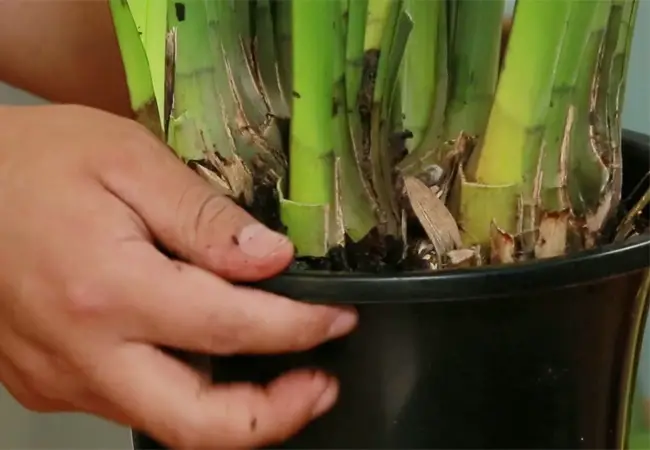
After successfully trimming the node and treating it with a fungicide, you can carefully remove the orchid from the pot, removing any dead roots and old media. Be careful not to damage the new roots.
Place the orchid in a container that fits all of the roots snuggly, so the base of the plant is even with or just below to rim of the new container. Holding the orchid in place, start to put in new media slowly.
Once the new media is put into about the rim, firmly (being careful not to damage roots) press the media down with the tips of fingers. If you don’t pack the new medium in, it will be too porous, and watering will not be as effective.
This video very well illustrating how to repot orchid plants.
Did you find this post useful? Would you like to get back to it later? Save THIS PIN below to your gardening and orchid garden on Pinterest! Thanks 🙂