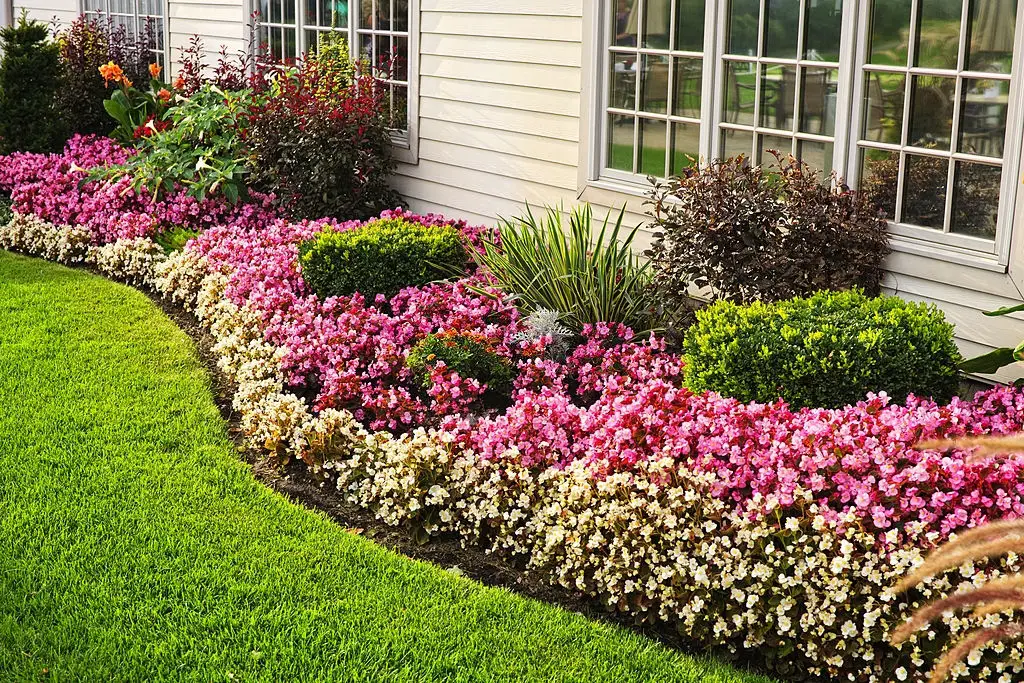
Creating a new flower garden in a patch of weedy or grassy soil is a lot of work, but it is some of the most relaxing, rejuvenating, and pleasing work you will ever undertake. While it may be tempting to go out and load up a shopping cart with blooming plants and shrubbery from your local hardware store or nursery, there are a few steps to take before you can begin planting.
To make a flower garden from scratch, you must research plants that grow well in your area, choose the right location in your yard, plan out your flower garden design, choose plants, and amend the soil. Then purchase seeds and plants and begin planting them according to the tag or packet directions.
Many beginning gardeners start a flower garden by first visiting the local hardware store or gardening center and choosing flowers they like. When they plant these flowers and shrubs, some die off because the conditions are not right for planting. To ensure long-term success with your flower garden, take a little time to plan. This way, your gardening efforts will create a haven for you that you will enjoy for years to come.
How To Create A Flower Garden From Scratch
Before you get creative, you need to get scientific. Take a couple of hours and do some research to discover the plants that will grow best in your climate. This research is pretty fun, very eye-opening. It will pay off in money savings, time savings and help you avoid some of the emotional tolls that come with continually losing much-loved flowers, trees, and shrubbery.

Many new gardeners are surprised to discover that many plants offered for sale at their local mass-market home improvement stores are not suitable for growing in their climate. They purchase cartloads of these plants, put them in, and soon the plants die. This is because these plants are full of blooms at the sale, so they are good money-makers. Unfortunately, they are not suitable to grow in the climate.
-
First, study the USDA Plant Hardiness Zone Map. You can search your location by zip code or take a look at your state. This will tell you what hardiness zone your location is in. This takes into account the average high and low temperatures of your area.
-
Use your USDA Plant Hardiness Zone Map number, for instance, 6b, to search for suitable plants for growth in that zone. You will find many nurseries that list plants for sale that are categorized by zone. You can purchase from one of these nurseries or use the information to make a plant list.
-
Now you will begin making a list of the plants you like suitable for growing in your climate. Make your list as varied as possible. Choose annuals, perennials, shrubs with interesting leaves, and evergreens.
Plan Your Flower Garden Site
Now you are going to be a garden researcher. It is time to head outside into the yard and find the best place to plant your new flower garden. Grab a cup of tea and spend a sunny day outside observing where the sun hits the most and spots that are very shady. The purpose of this outdoor research is to find the area where you have maximum sun or lightly dappled shade.
-
For best flowering, most plants need at least six hours of daily direct sun. Many plants and flowers will do well with fewer hours of sun, but the blooms will be later in the opening, and you will have fewer of them. If you find an area that gets extremely hot, it will burn the plants. Use hardy varieties there, such as lavender.
-
Dappled shade is also okay, but you will not be able to grow flowers there that have full-sun requirements. There is a wide variety of flowers and shrubs that love the partial sun.
-
If you have a single spot where you want to put the flower garden, but you find that it gets too little sun, such as 3 hours or less, then plant shade-loving selections such as hostas, begonias, bleeding hearts, and fuschias.
-
Choose the placement of your flower bed also based on how you want to enjoy it. Do you want to be able to enjoy it from a particular window or porch? Do you plan to construct a patio in the flower bed or near it?
-
Ideally, you want to find a place where you can enjoy the flowers the way you want, and the plants will receive enough sun to give you beautiful blooms all season long.
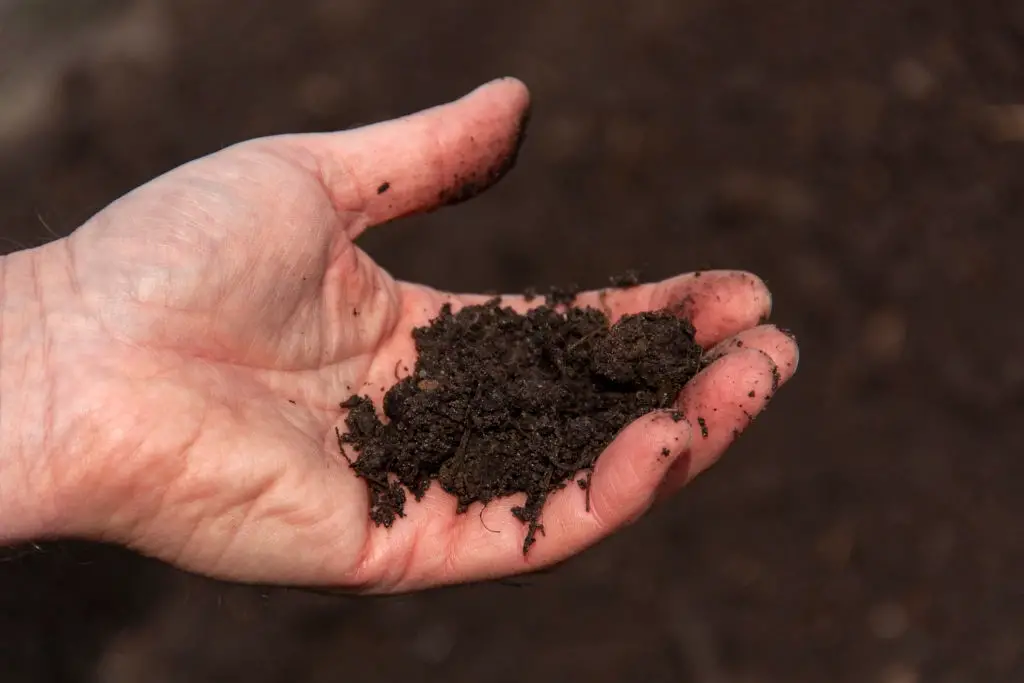
Investigate Your Soil
Grab a shovel or trowel, and dig up a little of the soil in the area that you are considering for your new flower garden. What is the soil made of? Are there a lot of worms in the soil already? If the area is already full of weeds and grass, many earthworms may be present in the soil, which is ideal. Earthworms help to keep the soil aerated and fertilized. They are a sign of healthy soil biodiversity.
Try to form the soil into a ball. If it sticks together, then you have clay soil. You probably already know if you have clay soil because your shoes are clumped with sticky clay when you walk on the wet soil.
-
Clay soil will hold too much water and cause plants to rot in wet conditions because the soil does not drain properly.
-
Puddles in the flowerbed that persist after rain or watering are likely to signify that the soil is clay, or at least not draining properly. Those areas should not be planted until the soil is amended so that it drains well.
-
Once conditions grow arid, clay soil will dry out so hard that it is solid and cracked on top. Only the toughest weeds like thistles and crabgrass can grow in these conditions.
Clay soils need to be amended richly with organic matter. Suppose you are planning to garden in a clay spot, no worries. Just start amending the soil as soon as possible. Begin to work in leaf matter, aged manure, compost, and other organic matter into the soil. Give it a few weeks to decompose and help lighten the soil before you begin gardening.
-
Aim for 10% organic matter in the soil.
-
Amend the soil at least 3 weeks in advance to give the organic matter time to break down and begin working into the clay.
-
If you did not find worms in the area of soil that you wish to plant, then add earthworms or red worms to the area and give them food to eat, such as shredded newspaper, vegetable and fruit compost, and coffee grounds. This will help them get established in the area and begin enriching your soil.
-
Never use fresh manure for amending soil. This will burn your plants and probably kill them.
Bring the Research Together Into a Plan
So far, you have done some very relaxing and informative research. You have a list of plants that grow well in your hardiness zone, and you know all about the available sunlight in your yard. You have chosen the perfect patch for your new flower garden. It is time to make your various pieces of research come together into a plan for your new flower garden.
Use the list of plants that grow well in your USDA Hardiness Zone, and begin comparing their growing requirements to the sun availability that you have in your selected flower bed area. Aside from hardiness, here are things to consider when making your plant list.
-
How much sun does the plant need? If one type of plant grows tall and needs full sun, it may also serve as partial shade for another plant that grows near the soil and needs only partial sun.
-
Plan on planting in groups of three for aesthetics. If your flower garden is large, you can repeat these clumps further on in the garden for consistency and interest. You can break the rule of three, but odd numbers of plants always look more natural and relaxed.
-
Plan on placing tall shrubs and flowers toward the back of the garden, but give them room to spread toward the middle. A pleasing garden should be allowed to ramble, but not so much that it chokes out smaller plants.
-
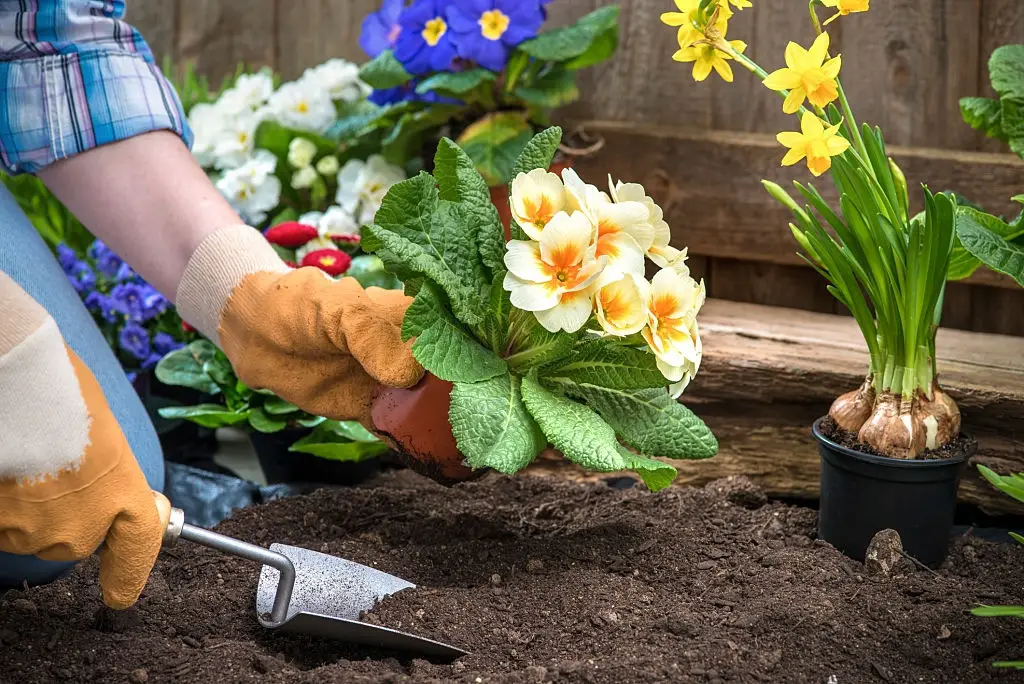
Place very short flowers such as primroses and violets in the front for visibility. They can be planted in rows for a border but look more natural and pleasing when planted in clumps.
-
Plants such as bleeding hearts with graceful bending stems and foliage that does not grow thickly can be planted in the middle of the garden, where they will receive some shade and have room to bend over the smaller flowers.
-
Choose plants that bloom in various seasons. Some shrubs like heather can bloom year-round in mild climates. Christmas Camelias also bring a rush of bright red beauty to the winter garden in mild climates.
-
Choose early-season bloomers like snowdrops, jonquils, daffodils, and grape hyacinth to kick off the season. Then plan for late spring, early summer, late summer, and fall blooms. Finally, choose plants with colored foliage, fall berries, and evergreens to round out the aesthetics through winter.
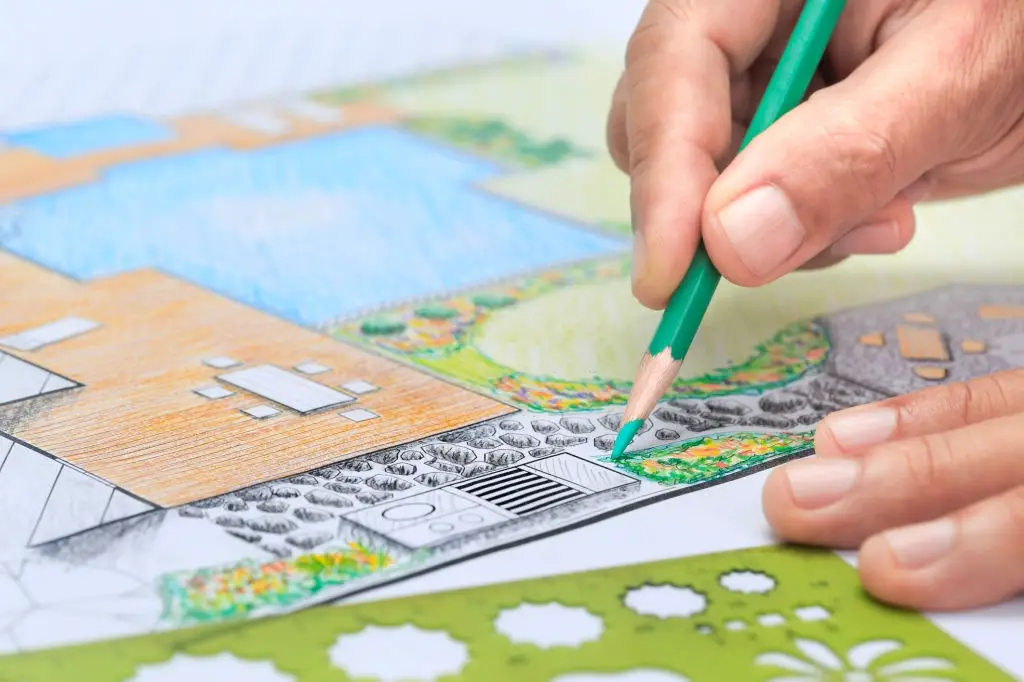
Take your new plant list and some colored pencils and begin sketching out a rough idea of the shape you want your new garden to take and where you want your new flowers to grow. Keep in mind that you can put in early season bulbs and then plant summer-blooming annuals in their places after they fade.
Hostas will push up through expired columbine beds, daffodil patches, and tulip beds. This is especially nice in milder climates, where early spring flowers bloom in the sun before deciduous trees begin shading the flower bed. The spring bulbs can enjoy full sun, then shade-loving plants and flowers will enjoy the shade provided by newly leafing deciduous trees and shrubs.
Plot and Dig Your New Flower Garden
Now that you have your site chosen and your plants listed and sketched into a rough site plan, it is time to prepare the bed. If you have clay soil, you have hopefully begun digging and amending the soil already. If not, do not worry. You will need to add a little extra time to your prep before you can begin planting.
-
Take a rope, string, or even a long garden hose and mark out the edge of your new flower bed. If you choose an irregular shape, make sure that it will still be easy to mow around and do other yard maintenance.
-
Use a spade or shovel and begin digging to the inside of your marker. If you have grass, you can shake the soil out from the roots, but get as much of the grass and weed matter out as you can.
-
Weeds such as thistles will regrow from even tiny root bits left in the soil. Do not chop them up. Aim to get them out in whole pieces and discard them in a garbage can. If you throw them in a compost pile or a corner of the yard, you will have a thistle patch growing before you know it.
-
Dig up six to eight inches of soil, cleaning it as well as you can.
-
Put down a fabric weed barrier, if desired. Remember that this will not keep weeds from growing, but it will keep roots shallower for easier pulling. Also, you will have to make holes in the weed barrier for larger plants to grow. Shallower plants like alyssum will be able to grow in the soil on top of the barrier.
-
Some plants like blueberries do not do well with weed barriers because the roots grow very shallowly. They cannot get the water and nutrients they need because the roots pile up under the weed barrier, and the plant slowly starves. Keep these considerations in mind when choosing to use it or not.
-
Apply organic matter such as aged compost and other humus to the soil and mix it well. These things keep the loft in the soil so that roots can get the oxygen and nutrients they need. It also lets the excess water drain away, so the roots do not rot and kill the plants.
-
If you have just worked manure into the flowerbed, give it at least three weeks to settle in and break down so that your new plants do not burn and die.
If you start your new flower bed later in the season, these soil preparation steps may mean that you will not have the full planting season to carry out your garden plan. That is okay. Begin by putting in the plants and flowers that will grow well in the current conditions and continue implementing your plan for the rest of the growing season.
Leave room for the early spring plants and bulbs that you are unable to plant this year. Next year, when the planting time is right, kick off the season by putting in the early blooming plants that you could not get planted this year.
How To Create a Flower Garden From Scratch
Now is the fun part. It is time to shop from your favorite garden catalog, website or head to your local garden center. If you plan during the late winter months, you may choose to start many plants from seeds. These seeds can be mail ordered and arrive in plenty of time to get a good start in the garden.
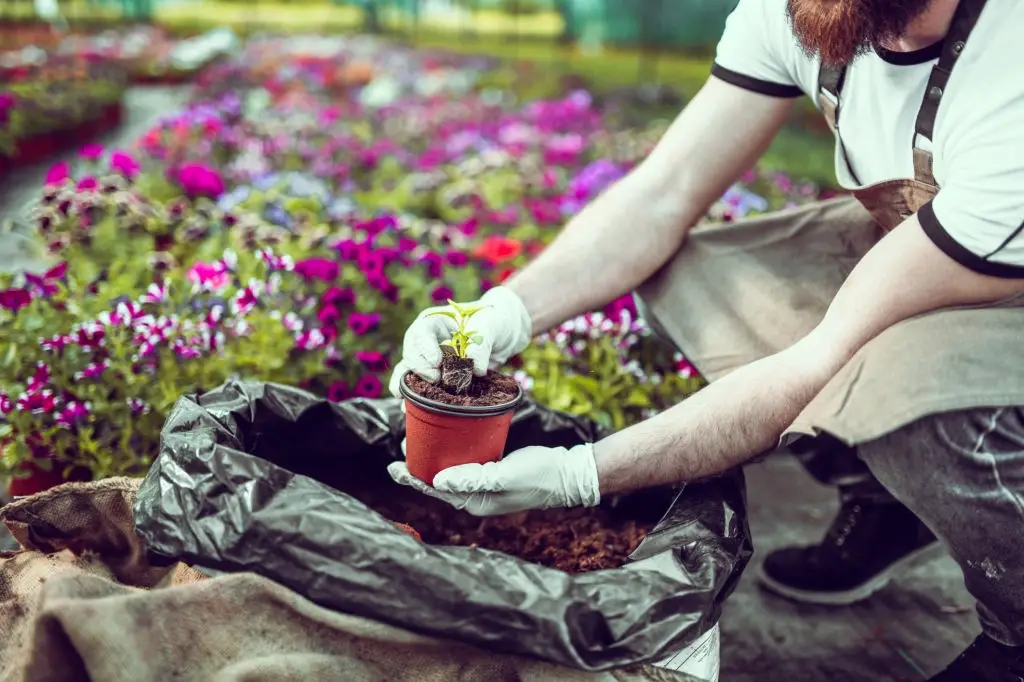
If you have a locally-owned full-service nursery, they will likely have all or most of the plants you want to buy because they will stock plants appropriate for growing in your local hardiness zone. They will also be a friendly wealth of information for you on selecting, planting, and maintaining the plants that grow best in your area.
You will choose seeds from your local nursery or a plant catalog or website to start totally from scratch. When they arrive, read the planting times and directions carefully. Some can be directly sown in the soil when soil and air temperatures reach the right warmth for germination.
Other seeds will need to be started indoors in seed trays or peat pots and then transplanted into the garden once conditions are right. If you live in an area with many overcast days in the spring, you may need a growing light to give your seeds enough UV rays to grow well before placing them outside.
-
Growing lights do not broadcast enough UV rays to be effective more than a few inches from the lightbulb. Keep this in mind, especially if you plan to retrofit a single lamp to a UV bulb. The light source will need to be placed very close to the plants to have any positive effect.
-
Seed trays may need to have a warming mat underneath to raise the temperature high enough for the seeds to germinate. You can purchase these warming mats at a nursery or online.
-
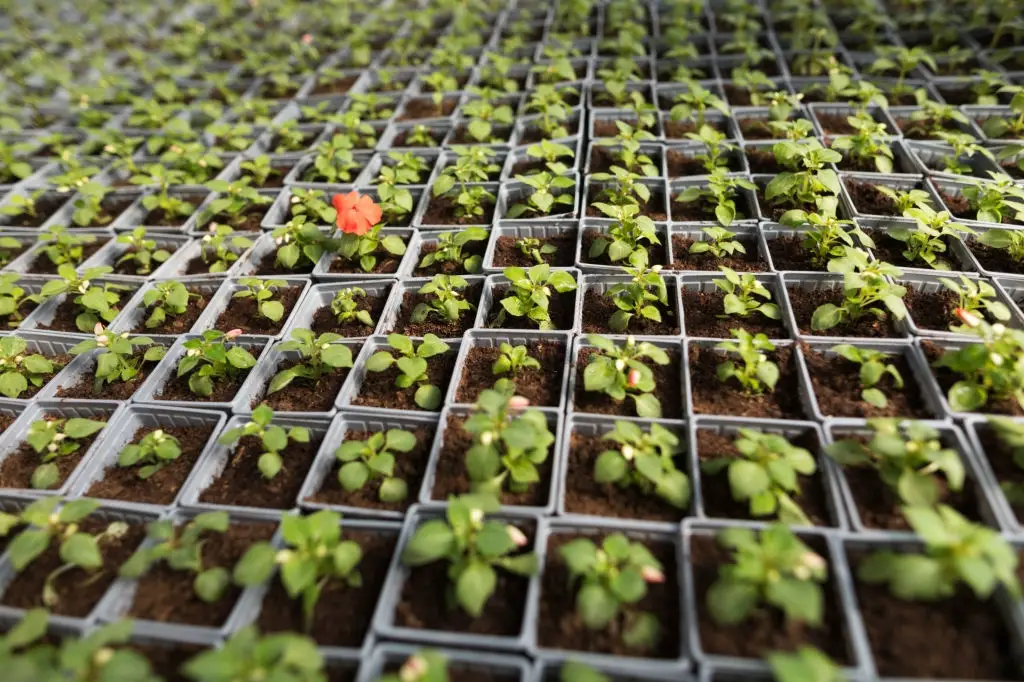
Seed trays will need to be transplanted into larger trays, small pots, or peat pots to keep growing indoors.
-
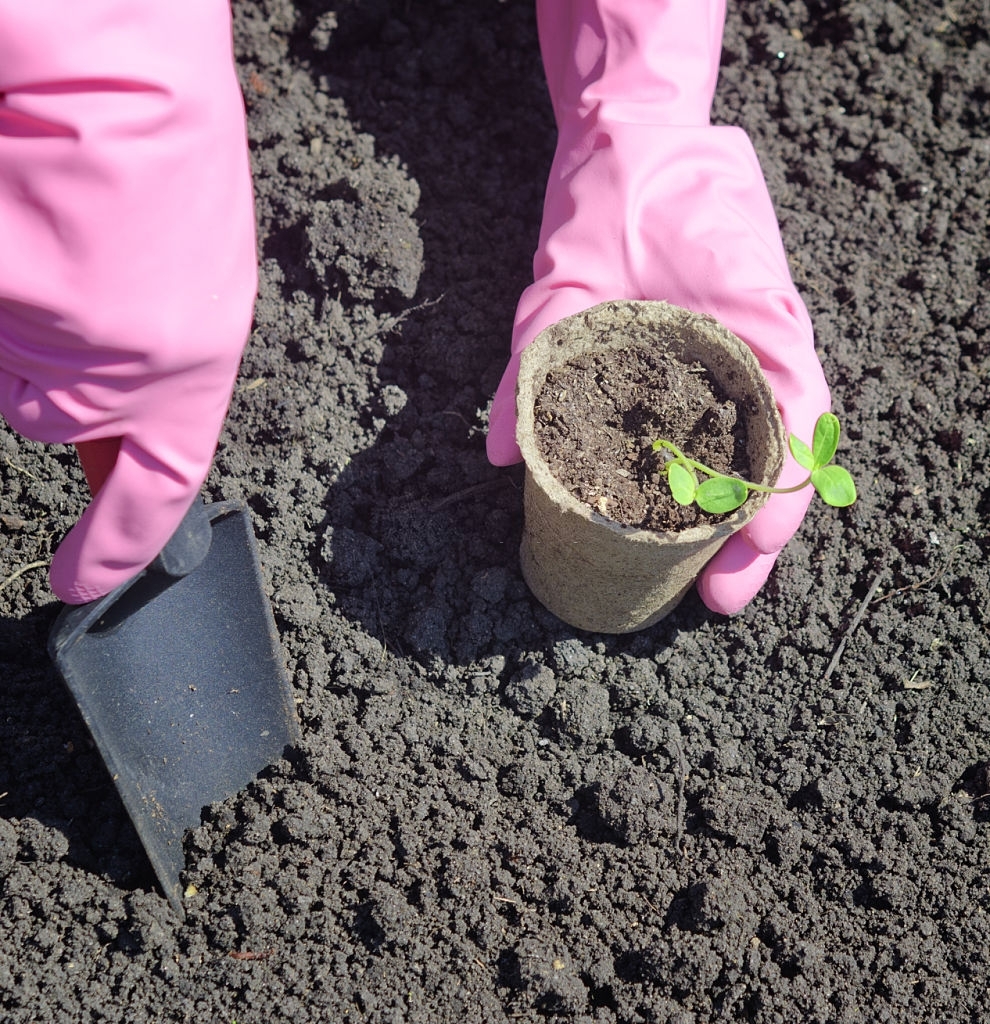
Peat pots take up more space indoors, but you do not have to risk shocking the plant during transplanting outdoors. You will plant the peat pot in the ground, and the plant grows through the pot’s walls. The pot breaks down and helps to amend the soil around the plant.
-
Moisture needs to be maintained consistently during germination, but the warmth and moisture make conditions perfect for growing mold. Check seedlings daily for the first signs of fuzzy mold. If you find mold, do not panic. You will cover the steps to clean up and avoid mold next.
-
Once the seedlings are ready and the weather is right, you first harden them off. This is done over 14 days by placing them outside in the morning. Begin with a single hour and increase each day, bringing them in at night. Finally, they can be left outside before planting. This helps to avoid transplant shock.
Mold In the Seed Trays or Peat Pots
This is a horror for new gardeners, and it is frustrating, but eventually, everyone deals with it. When you make the conditions right for germination, you germinate more than just your seeds. You also germinate some mold spores that are all too happy to find these ideal growing conditions you have created. Here is how you get rid of the mold and maybe even keep it from growing.
-
Begin with sterilized trays and pots. Old pots will have mold on them. Old soil will have mold spores waiting to grow when conditions are right. Start with clean pots, soil, and tools, and you may be able to avoid those fuzzy molds from the start.
-
Water your seedlings from the bottom of the tray. Your peat pots or seedling trays will have a tray underneath. Flood this tray with water and allow it to soak up through the dirt for about a half-hour, then drain out the remaining water. This gives your seeds enough moisture to germinate without constant saturation.
-
Ventilate the trays. You need to keep the seedlings from drying out, but if water is dripping off the top of your trays and back to the soil, it is too moist. This will encourage mold growth. Set the tray lids on at an angle to encourage fresh airflow. If the seeds have germinated, you can leave the lids off.
-
Turn off the heat. Once the seeds have germinated, this heating mat does not need to be on. It will only create a nice habitat for mold.
-
Use a circulating fan. Once the seeds have germinated and are growing nicely, a circulating fan will help dispel extra moisture and keep the soil and plant stems nice and fresh. This helps keep mold away.
-
If you see mold, remove it by hand. Scrape it off of the soil and throw it away. Use fresh paper towels to clean it off of plastic surfaces, leaves, and stems. Wash your hands before touching the plants.
-
Thin the seedlings. If the little stems are bunched together, they will not get enough air circulation to stay healthy and keep mold away. Thin the seedlings according to the package directions. This will also reduce competition and produce stronger seedlings for your new flower garden.
Planting Flowers in the New Garden
Once the weather is pleasant, nighttime temperatures are warm enough, and the danger of late spring frost has passed, it is time to put the seedlings in the garden. If you have direct-sowing seeds, it is also time to put them in. Of course, if you choose to purchase potted plants, those will go in as well.
When you work the soil, be careful not to compact your newly amended soil too much.
Work your way from the back to the front of the bed, and put down a board to stand on to help distribute your weight over more of the soil, which will help keep the loft and aeration that you have worked to achieve.
If you have allotted a nice big space for a plant like lithodora to spread, then leave that space open for it. For your first year or two, your garden may look a little more sparse than you would like. However, as time goes on and your plants become established, they will fill in and use that space to grow.
-
Give the flower bed one final thorough weeding before planting seeds. This will give you more confidence that the little leaves popping through the soil are indeed your flowers and not weeds coming back.
-
Please do not give in to the temptation to pull weeds until you are positive that they are not flowers that you have planted. Many flowers look like weedy plants when they germinate and begin to grow. It is common for new gardeners to think they are pulling weeds and accidentally decimate a few dozen newly sprouted alyssum.
-
Label all of your seeds, seedlings, and plants carefully. You will forget about some of your plants, especially bulbs that have died back. Labeling carefully will help you to avoid improperly double-planting an area. It will also aid later if you choose to plant annuals over spring bulb beds.
https://www.youtube.com/watch?v=L-MBV_X5zXA
Enjoy Your New Flower Garden
As the year progresses, you will enjoy your work and get more inspiration to incorporate even more plants into your design. This is one of the many joys of gardening. It is a work of art that you can update and change as much as you like.
Incorporate weeding into your daily routine if possible. Many gardeners enjoy a morning stroll through the garden with a cup of tea or coffee. As they sip and enjoy the morning air, the dewy plants, and the bird songs, they also look for little weeds to pluck, flowers to deadhead, and shrubs to prune. When worked into a relaxing time of enjoyment, these gardening activities can become a favorite part of the day.
-
Pluck weeds before they can grow long enough roots to require strenuous activity. Small weeds usually come out easily when they are small, and the soil is slightly moist.
-
Deadhead annuals to keep them blooming all summer. This means to pinch off wilted flowers. Pinching off the dead heads for most flowers encourages more full and robust flowering for the entire season.
-
Some shrubs can take light pruning for the whole season, but others must be pruned only in the fall after previous blooms have been set and before new blooms are set for next spring. Follow the advice of an experienced nurseryman.
-
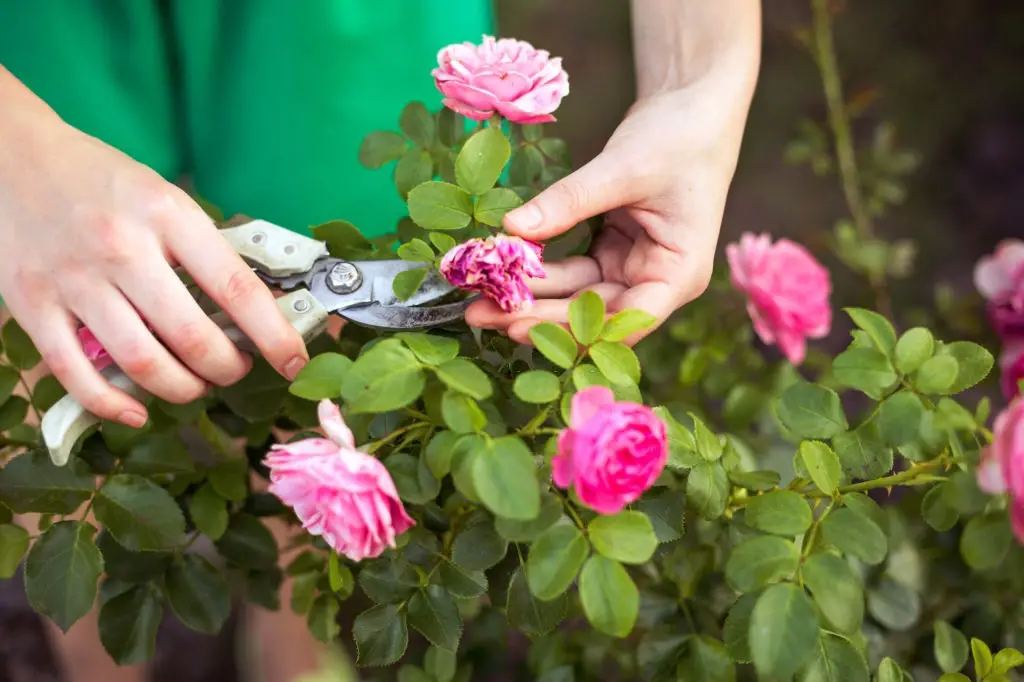
Roses, in particular, love to be picked. Clip beautiful, full blooms from your rose bushes, and they will burst out with many new buds to replace the ones you clip.
-
Look for bugs and pests in the garden, and take steps to repel or eliminate them before becoming an infestation. Take care not to kill the bees. Look for safe ways to eliminate pests without harming pollinators.
Conclusion
You can make your very own flower garden from scratch, and it can be one of the most enjoyable and rewarding things you ever do. With a little planning and research, you can be a successful gardener even from your first try.
A brand new flower garden brings beauty, relaxation, healthy exercise, food for pollinators and can improve the value of your home. No matter what time of the year, you can begin taking steps to plant your new flower garden and get started now.
Did you find this post useful? Would you like to get back to it later? Save THIS PIN below to your best gardening and flower garden boards on Pinterest! Thanks 🙂