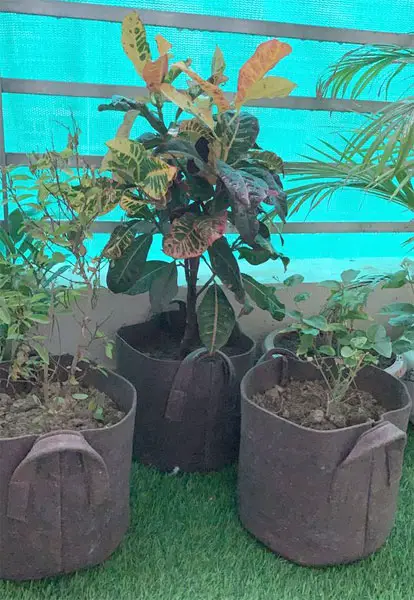
Many people will find some dirt on their smart pots after they have been planted flowers for a period of time.
* Some people called smart pots to grow bags, root pots, or air pots. I will call them smart pots in this article.
Smart pot has good drainage and breathability. Because of its drainage characteristics, the white alkali in the water and some dirt will stick to the outside of the smart pots, making them very hard to clean. Some people will throw the dirty pots away and replace them with new ones.
I always feel it is kind of a waste to simply throwing the pots away. But if we continue to grow plants with these dirty pots, it will affect the ornamental value of the plants as well.
How To Clean Smart Pots
So, what can we do to solve the issue then? In fact, there are many different ways that you can use to clean dirty smart pots. If you want to know what you should do to clean your smart pots, the following tricks will help you out.
1. Clean With Ferrous Sulfate
You can try to add a certain proportion of ferrous sulfate to a full water container and then put the smart pots one by one, with the larger one on the bottom and the small one on the top, and soak them in the ferrous sulfate aqueous solution.
After about three days, take them out and gently brush them with a brush to wash away the dirt on the surface of the smart pots.
Why does this method work? The reason is straightforward. The ferrous sulfate solution is slightly acidic, and the white dirt on the smart pots is alkaline. Once the two are neutralized, it becomes straightforward for you to clean them.
After cleaning, the smart pots can be kept clean for a long time. Again, the pots are slightly acidic, which is also conducive to the growth of flowers and trees.
You can also use this method to treat your new smart pots. It can provide the same preventive effect as well.
2. Brush with White Vinegar and Water Solution
Vinegar can also remove the dust and dirt on the smart pot. You can mix an equal amount of white vinegar and water. You can use a bucket and pour the white vinegar into it. Then pour an equal amount of water into the bucket as well. Stir to blend them up.

Once the white vinegar and water solution is ready, you can use a scrub brush to brush your smart pots. A scrub brush is handy for you to do heavy scrubbing.
After brushing all the dirt spots, then you can dry them under the sun. If you still find any white deposits on the pots, you can do another round of brushing.
Leave it for 1 to 2 hours, and you will find most of the dirt is starting to get off from the smart pot. At this time, you can use a brush to brush it and use a water sprayer to get rid of the remaining dirt.
By carrying out maintenance from time to time, your smart pots will look good and will stay in good condition for a very long time.
3. Soak Treatment with White Vinegar and Water Solution
If you think brushing your smart pots with a scrub brush is too abrasive, then you can consider this soaking treatment.
You can prepare a bucket, then mix an equal amount of white vinegar and water into the bucket. Then fold your smart pots to save space and dip them into the bucket that has the mixture of white vinegar and water.
Make sure your smart pots are fully submerged so that they can fully soak with the solution. After soaking for about 30 minutes, you can start brushing them.
To avoid abrasive brushes on the smart pots, you can use a toothbrush instead of a scrub brush. Make sure you put a little bit of elbow grease while brushing. This is because when the surface of the smart pots gets wet, it may appear to be clean when you look with your eyes. But when it is dry, you will see a little residue left.
After cleaning up, you can take out the smart pots and put them into another bucket filled with regular water to rinse them.
After rinsing, you can dry them for a day or two and observe how clean they are afterward.
4. Brush with Detergent
Prepare a bucket, brush, and detergent. Pour an appropriate amount of detergent into the bucket, and use the brush to dip the detergent to brush the smart pot.
Brush while dipping the detergent and brush back and forth several times to observe the dissolution. Then use a towel to soak clean water and wash the smart pot.
If still not clean enough, you can repeat brushing with a detergent until it is immaculate.
5. Wash With Washing Machine With The Use of Hydrogen Peroxide
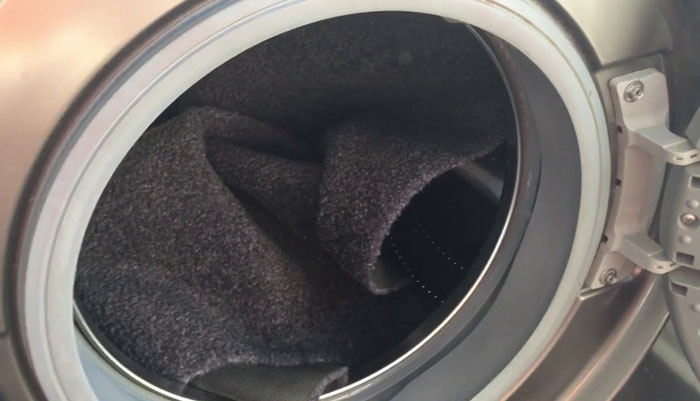
Another way to clean your smart pots is to wash them with your washing machine. Before throwing them into the washing machine, you need to shake out all the soil and mud.
You can then stack them up inside your washing machine. Once all have been put inside, you can pour in 2 cups of hydrogen peroxide first, then another cup when they are being washed halfway through.
You should use warm water instead of a cold one. This is because bacteria will stay on the smart pots, and using warm water can kill the bacteria while washing them. Using hydrogen peroxide to clean, your smart pots may come out from your washing machine with zero residual.
6. Using Toilet Cleaner
Most of the toilet cleaners are acidic. Mix the toilet cleaner with water to reduce the acidity of the toilet cleaner, and then use it to brush the smart pot.
Why Reuse Smart Pots?
Smart pots are becoming more and more popular and are now widely used by many farmers and gardeners. Using smart pots has some advantages that you can’t have if you are using normal plastic pots.
The main reason people using it is because of the price. They are cheaper compare to nursery pots or plastic containers.
Besides, they are durable. You can reuse the smart pots again and again for many years, and they are still in good condition.
Smarts pots are built with handles. Such features make it easy to lift people, and they can move them around without much effort.
They are not plastic which will take a couple of hundreds of years to degrade. They can degrade very quickly.
They are easy to clean, and you can reuse them again after cleaning.
For seasonal plants and crops, smart pots are handy. After the harvesting season, we can clean and dry the smart pots. Then, we can fold them up and keep them for storage. This will also save up the space of your garden.
Some More Things To Share
There are more things that I would like to let you know if you are using smart pots. These are what I learned from my own experience, and maybe you also came across the same thing with me.
1. Wear Gloves
It is best not to contact the detergent or hydrogen peroxide with your hands directly. These chemical liquids may hurt your hand. You should wear rubber gloves to have good protection for your hands.
2. Keep Smart Pots Off the Ground to Prevent Roots Comming Out
You shouldn’t worry much if you found moss, algae, or lichen on the smart pots. I have used smart pots for many years, and I never clean them.
If you think they are not right to be sitting on your smart pots, then you can go and clean them. That is no issue at all. But for me, I like them to be remained in there.
Also, any fabric container will allow roots to come through any place and make it possible for them to contact the earth.
While smart posts are air pruning containers, the only way to prevent roots from coming out from the bottom is to put them on a rack. By doing so, you will keep them off the ground, and they will not be able to have good contact with the bottom.
3. Use A Bucket to Hold The Smart Pot
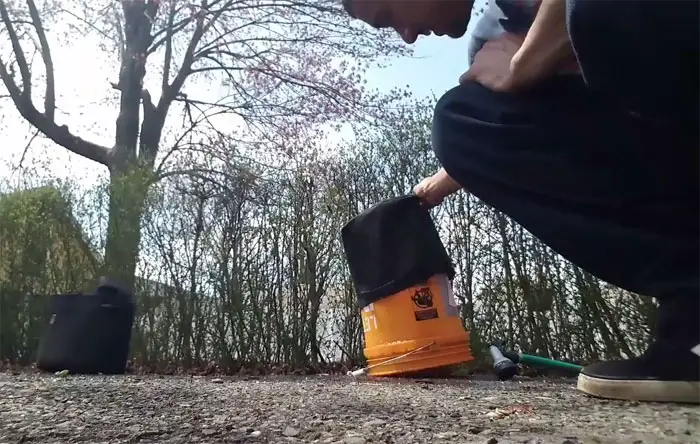
You can use a bucket to make it like a mold so that you can place your smart pots onto the mold for it to get hold of your smart pots. By doing so, it will ease your job of cleaning them with your water sprayer.
Also read: Reusable Root Pouch Grow Bags
Did you find this post useful? Would you like to get back to it later? Save THIS PIN below for your gardening tips and garden soil boards on Pinterest! Thanks 🙂